Here is some information that may help
with your carving…

Artificial vs. Real Pumpkins:

Carving on an artificial pumpkin has many advantages:

  •  The pumpkin lasts forever
  •  No gooey mess!
  •  They enable better detail

IMPORTANT FIRE SAFETY: Use only battery operated tea-lights with an artificial pumpkin.

I prefer the pumpkins from Michaels Crafts. I’ve tried many different products and these carve the best in my opinion. (www.michaels.com)

Transferring the Pattern:

There are a few different ways to transfer the pattern to your pumpkin…but please remember that you may need to adjust the pattern size to fit your pumpkin’s size and shape. (All patterns are scaled to print on an 8.5 x 11 inch page)
1.

Poke method

Tape the printed pattern onto the pumpkin. Using a pushpin, poke holes along all the pattern edges, ensuring that you poke through into the pumpkin skin. When finished, GENTLY remove the tape. Some people like to then outline the poked lines for better clarity. You can use a ballpoint pen or an extra fine Sharpie. Just make sure to carve on the outside of these drawn lines. This method is extremely time-consuming and not as accurate as others.

2.

White Glue method

Printed patterns can be applied with a mixture of white glue (such as Elmer’s) and water. This is not a method I have tried, but many carvers swear by it. I suggest you go online to search for information on how to apply / remove a pattern using this process.

3.

Pattern Transfer Fabric

This is my favorite way to apply a pattern. It’s clean, easy and very accurate to carve. Patterns are printed directly onto the fabric. I order my Pattern Transfer Fabric from Sulky.com  (Look for the Stick ‘n Carve product)

Directions on how to apply / remove are supplied with the Transfer Fabric. TIP: When removing, I prefer to lay the pumpkin in the sink and run the water directly on it. I use a sponge to gently rub the wet fabric transfer paper away from the pumpkin skin. (This works for both real and artificial pumpkins.)

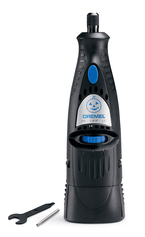
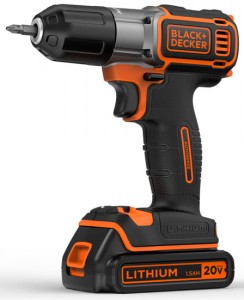
Carving Tools for Artificial Pumpkins

There are a variety of different tools you can use to get a crisp carve on your pumpkin. I've listed some of my favorites here...

I use a heated x-acto knife (also purchased at Michaels Crafts.) This tool, when fully heated, glides through an artificial pumpkin smoothly. It enables intricate carving.

You can also carve with a small, sharp knife or a standard #11 x-acto knife (though not as easy when the blade is not heated.)

Many carvers use a Dremel, which is better suited to the “surface-carving” method. Since my patterns are designed for the “straight-cut” method, a Dremel is not required, though some of my customers have used my patterns for surface carving as well.

I also use a drill for rounded shapes, like the highlights of eyes.

Sample:

Below, I have enclosed three images of a Tin Man pattern I carved onto an artificial pumpkin.

In this first image, you see the fabric transfer paper I use. As you can see, the image is very clear, which makes carving easy.

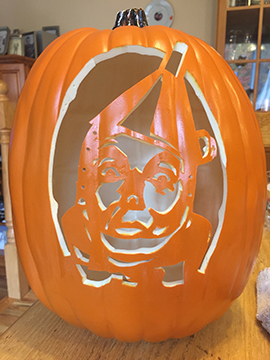
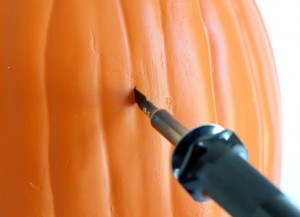
In this second image, you can see the actual carved pumpkin. Note the thickness of the pumpkin’s walls…they are much thinner than a real pumpkin, again allowing more intricate designs.

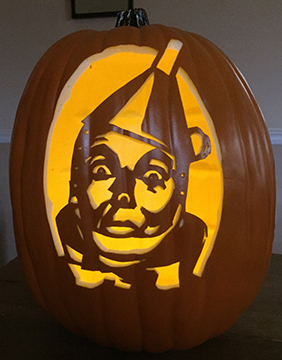
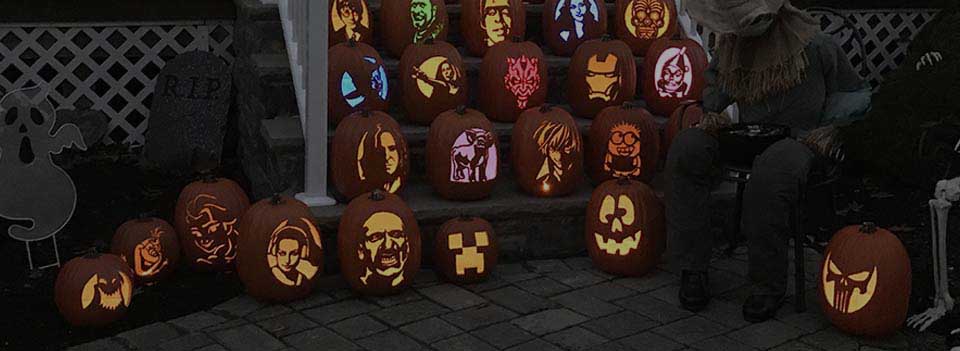
Finally, in this last image, the pumpkin is lit with an artificial tea-light. You’ll notice how the shapes become even more recognizable once the pumpkin is lit!

I hope you find these instructions helpful. Of course, I’m happy to answer any questions you might have. Please email me at: custompunkinstencils@gmail.com

Happy Carving!